Short.io supports Okta, AWS SSO, PingFederate, Onelogin, ADFS, and other SAML-compatible providers to configure SSO.
Note: SSO is available on the Enterprise Plan.
1. Go to Short.io.
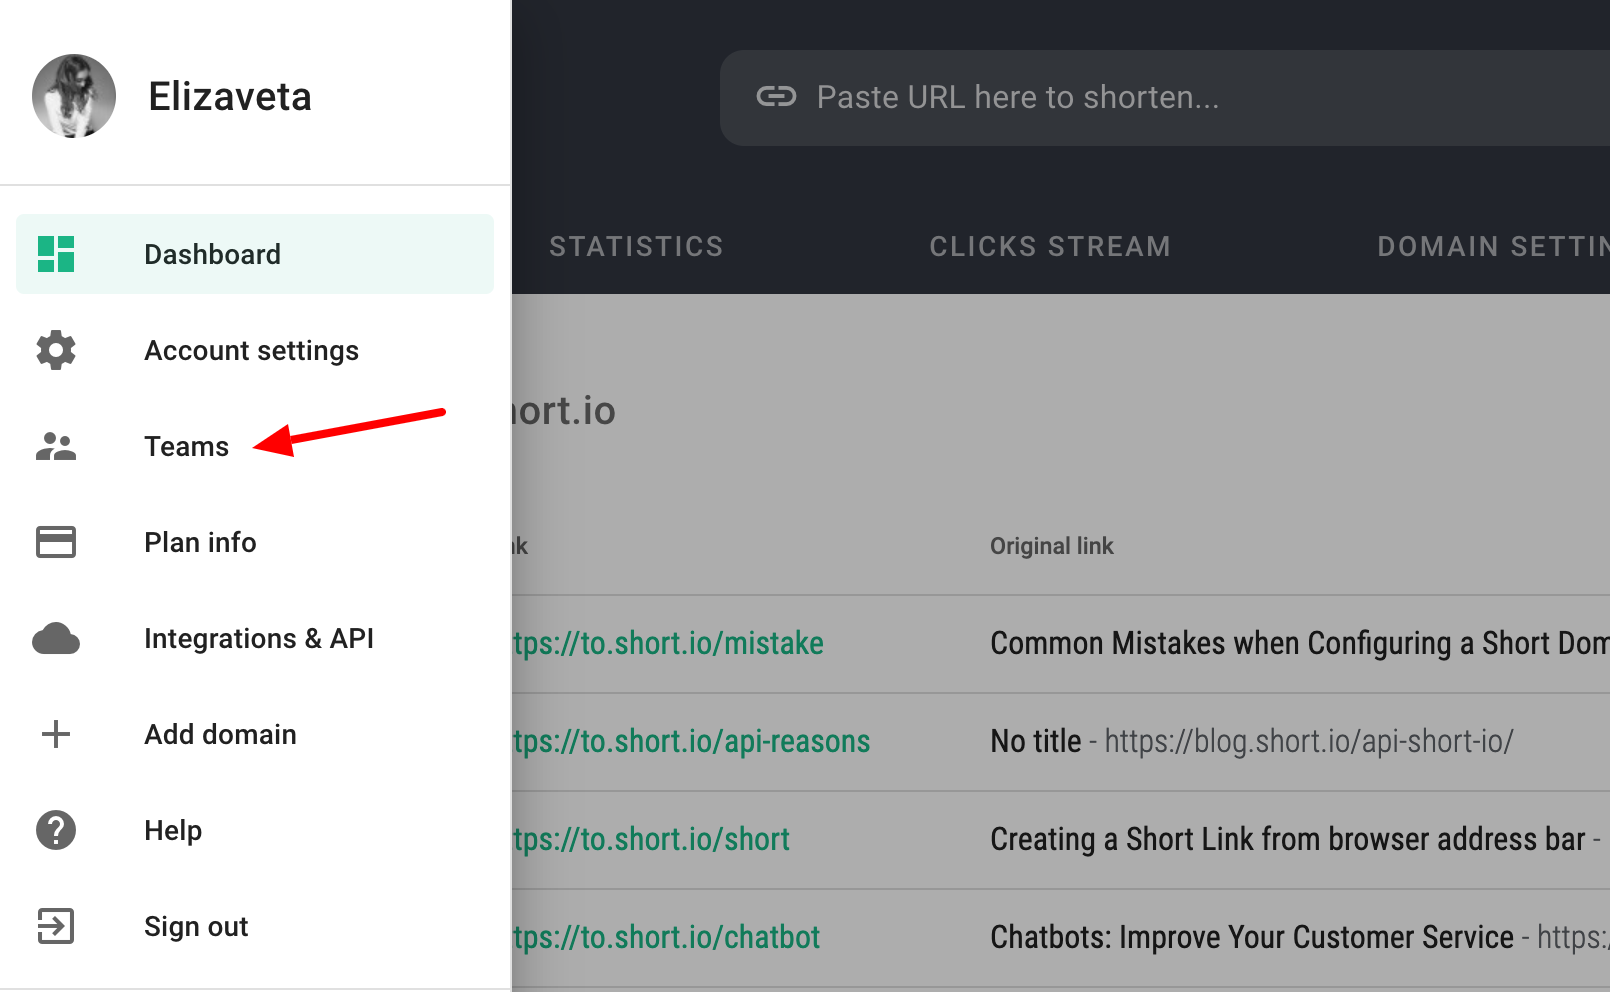
2. Open User Menu > Teams.
3. Click Setup SSO.
4. Choose Salesforce as an SSO provider, add your company name as Connection Identifier => Create integration.
5. Edit the SSO connection.
Now you need to get SSO data: Connection Identifier, Identity Provider URL, Identity Provider Issuer, and X509 Certificate. For this:
6. Go to Salesforce.
7. Click the gear item and choose Setup.
8. Search for Identity Provider > Choose Identity Provider
9. Copy Issuer and paste to Short.io to the field "Identity Provider Issuer".
10. Copy Salesforce Identity and paste to Short.io to the field "Identity Provider URL".
11. Click Download Certificate.
12. Open the certificate with any Text App on your PC.
13. Copy certificate and paste it to Short.io to the "X509 Signing Certificate" field. Important: Do not remove BEGIN CERTIFICATE and END CERTIFICATE.
14. When the fields are filled, click Create Integration.
15. Go back to Salesforce to continue setting up SAML.
16. Search for Apps > App Manager.
17. New Connection App.
18. Specify Shortio as the Connected App Name; your corporate email as Contact Email.
19. Scroll down. Specify https://short.io as Start URL > Enable SAML > Specify https://short.io as Entity Id and ACS URL > Choose Federation ID as a Subject Type.
20. Save.
Everything is done. Log in to Short.io via SSO. In case any issues, please, contact Short.io support.


