Cloudflare is a connection between a domain registrar and a user. If you have a domain, which you want to connect to Short.io, Cloudflare may become your DNS configurator.
Learn the instruction below on how to configure a domain name with Cloudflare.
1. Sign in to Cloudflare.
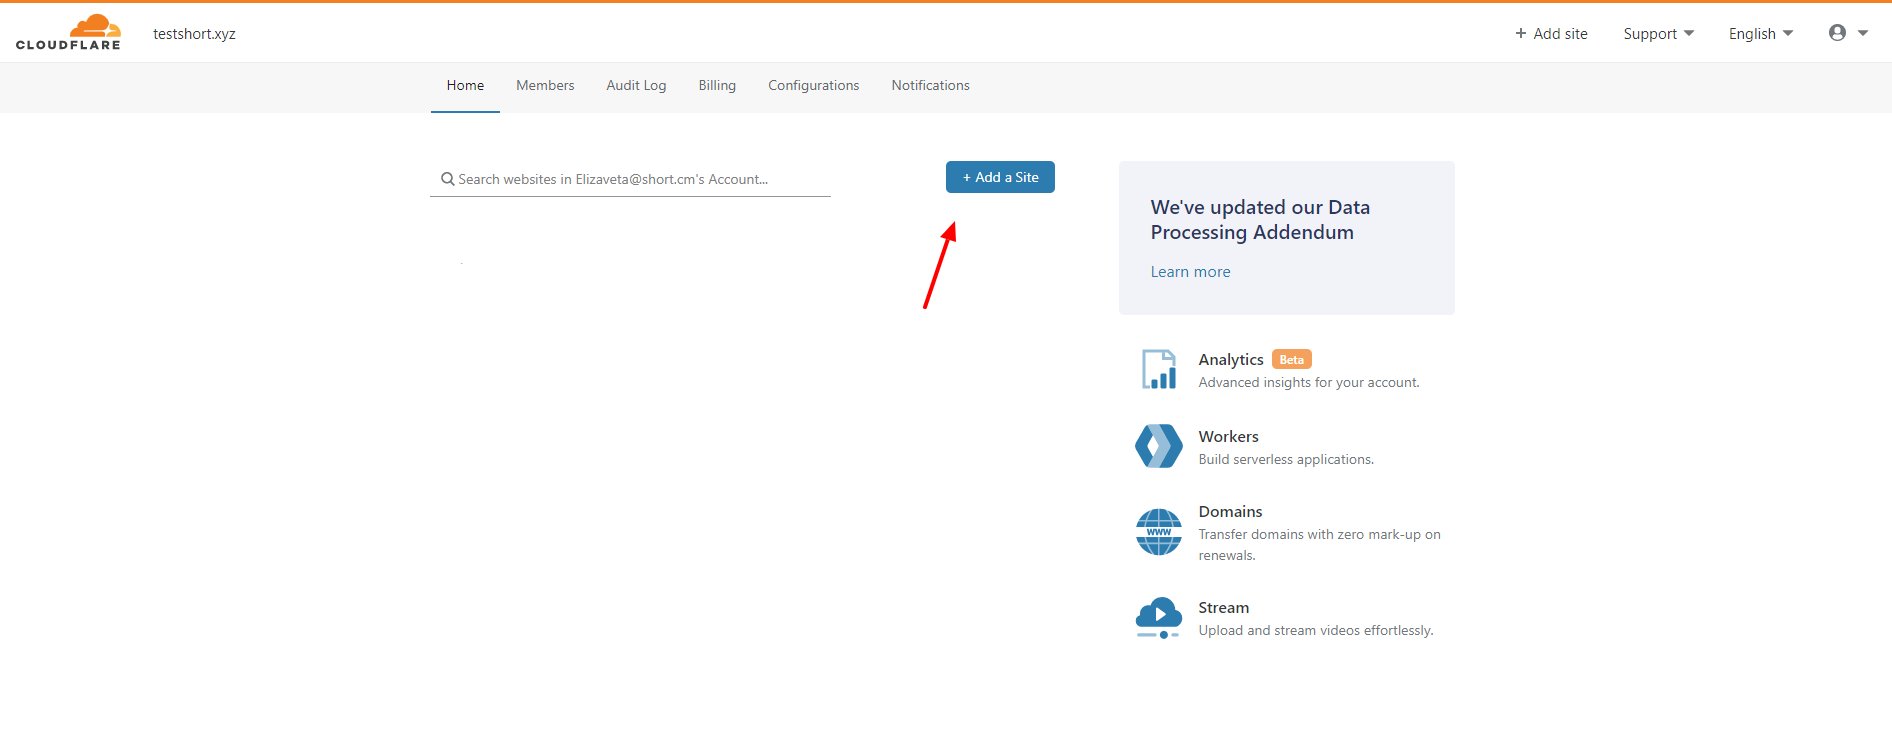
2. Add your domain to Cloudflare.
3. Choose a price plan > Continue.
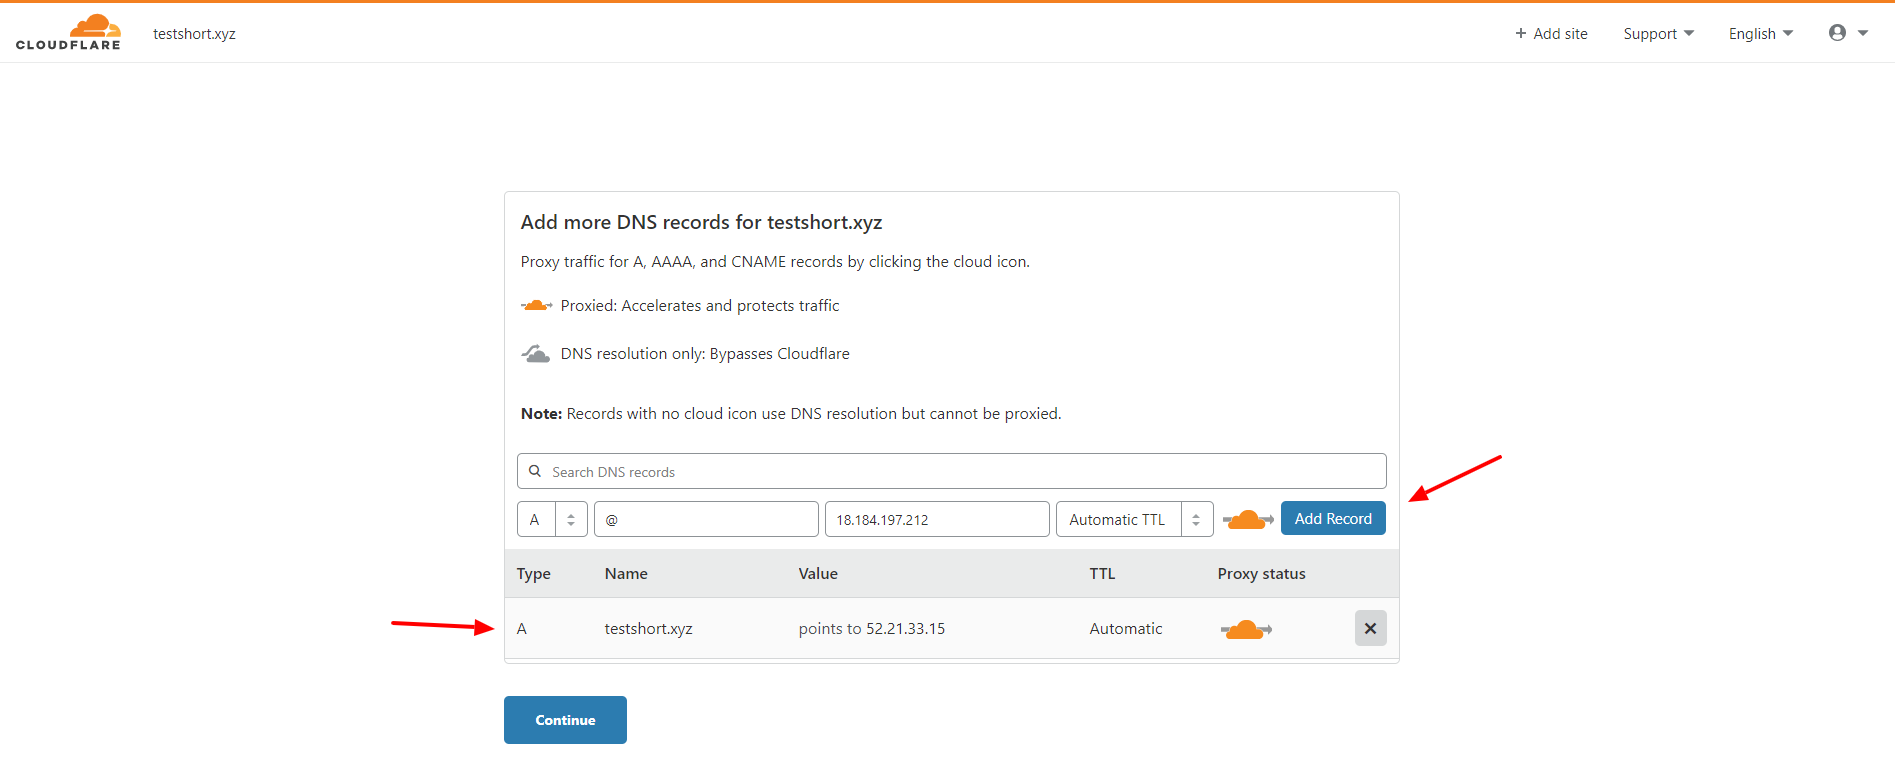
4. Delete all existing A-records and add two A-records to connect the domain with Short.io.
- A record; @ Host; 52.21.33.16 IP address.
- A record; @ Host; 18.184.197.212 IP address.
Important: Proxy status should be set to DNS only
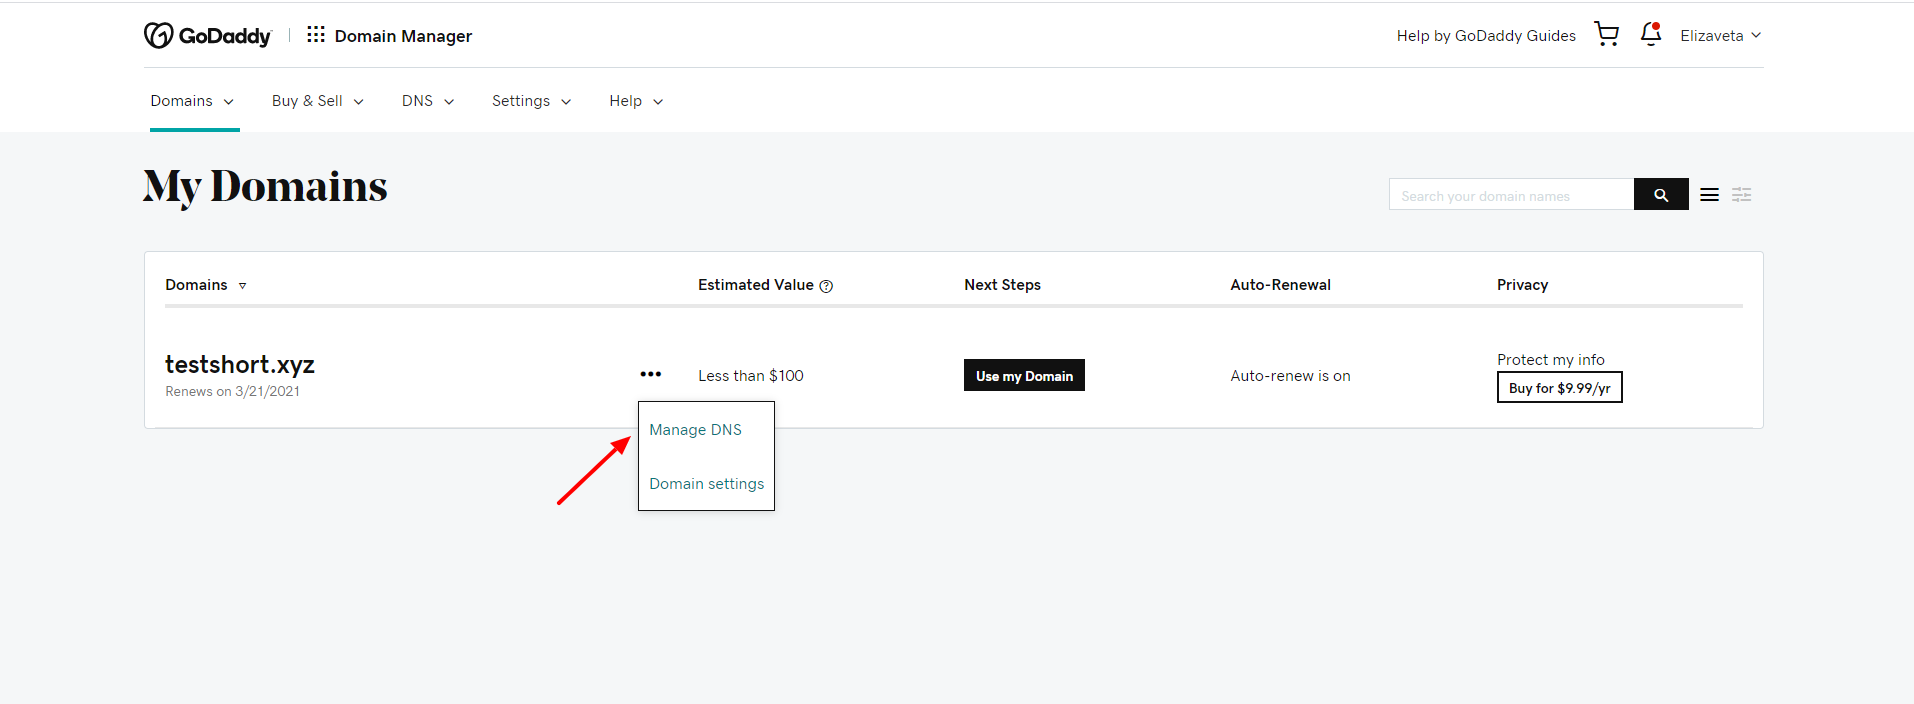
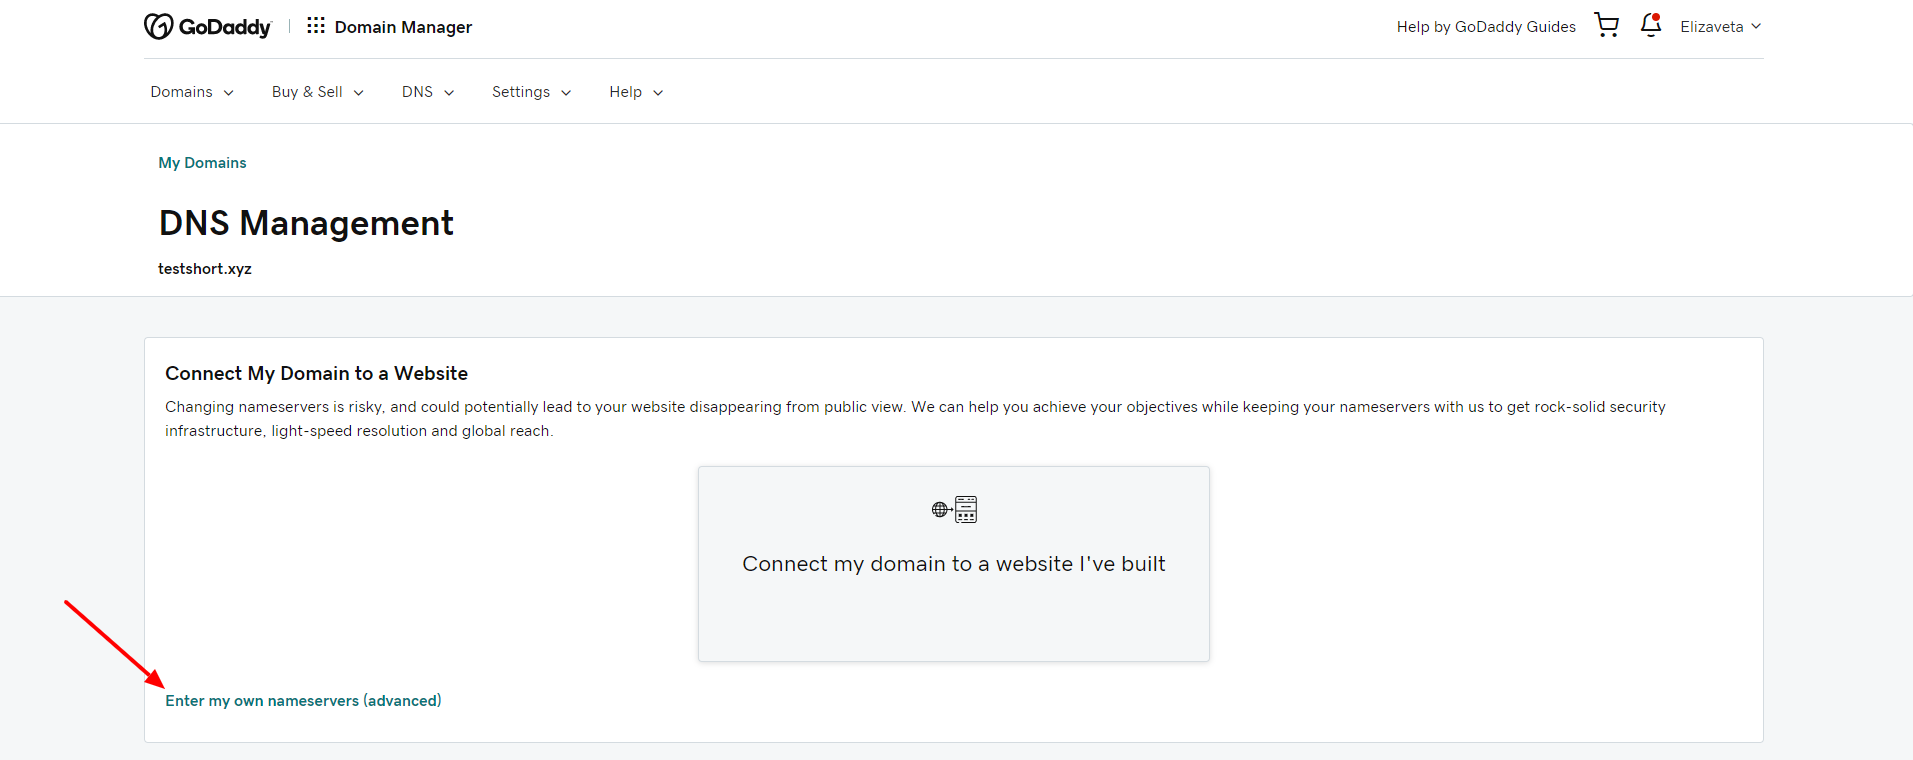
5. Log in to your domain registrar.
Note: The example of a domain registrar is GoDaddy.
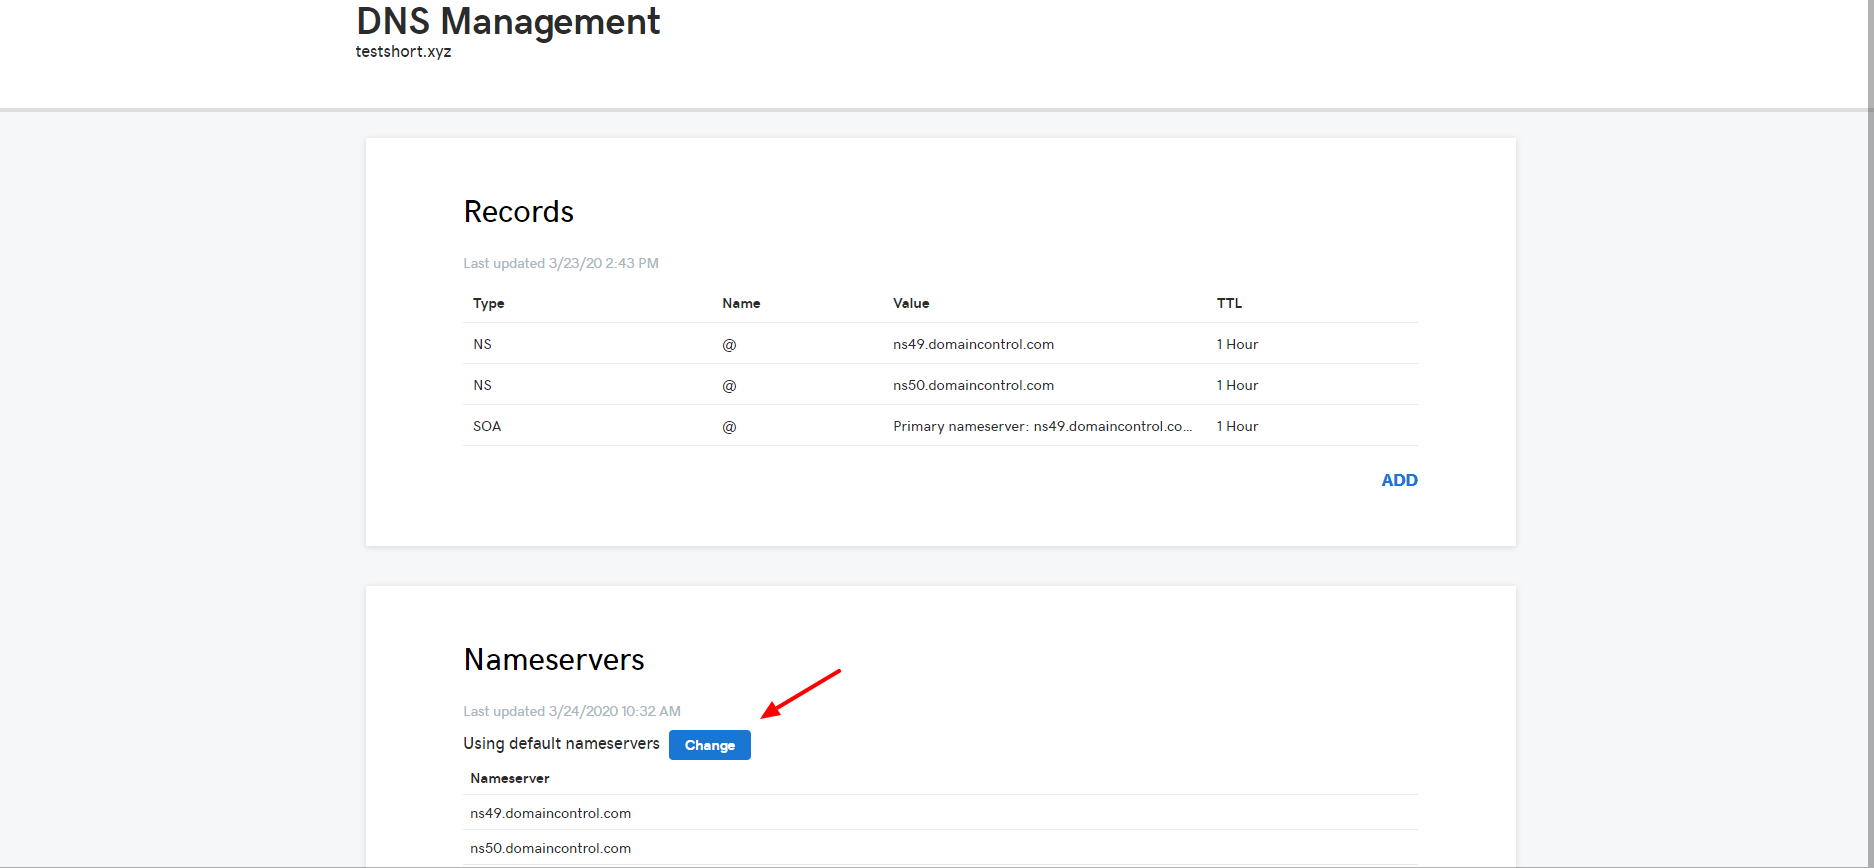
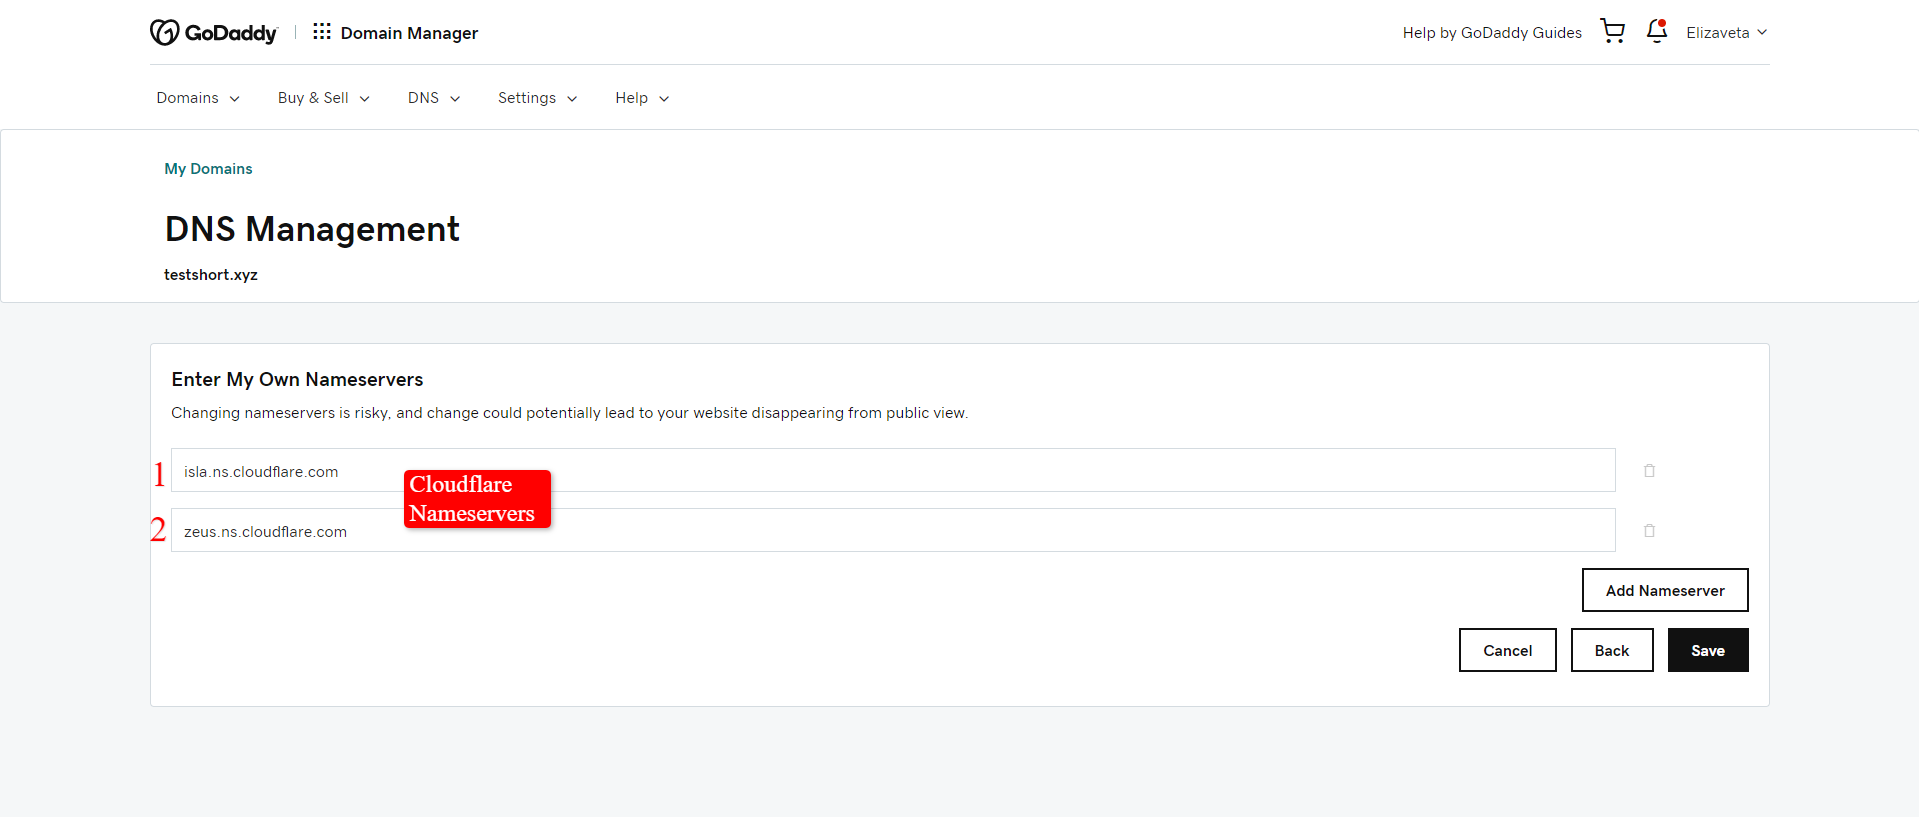
6. Replace nameservers on the domain registrar with the Cloudflare ones.
Go to your domain registrar > Next to the necessary domain choose DNS settings.
Change existing nameservers.
Enter custom Cloudflare nameservers.
Add the nameservers.
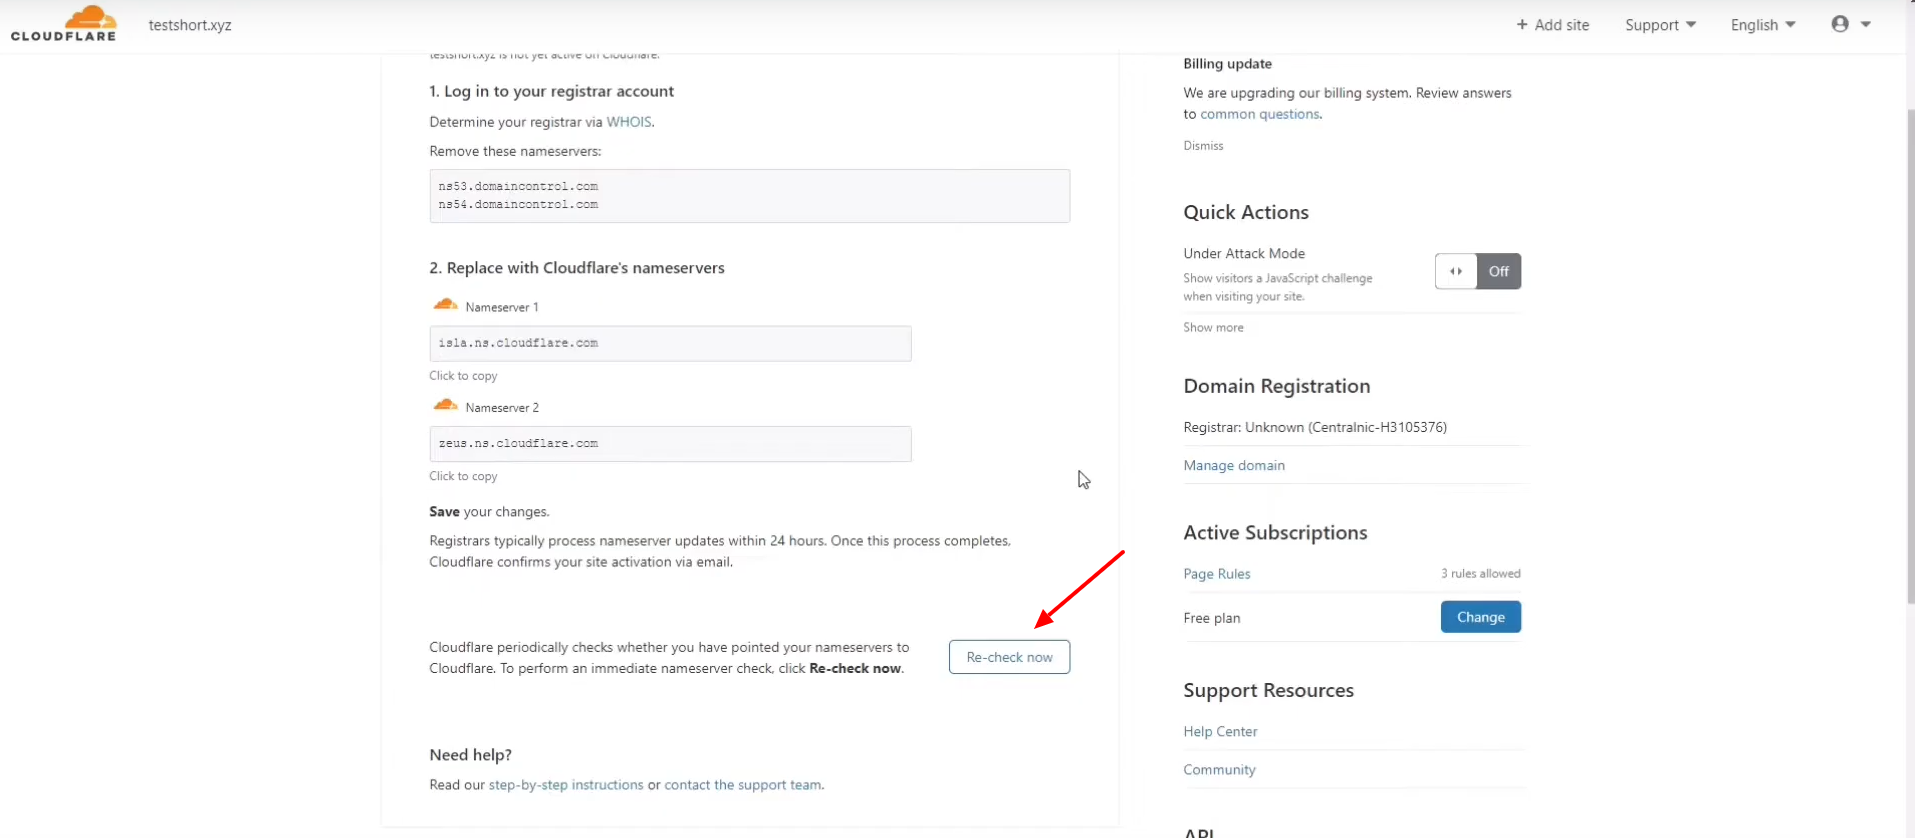
7. Wait a few hours and click "Re-check Nameservers."
8. When the domain is active on Cloudflare > Go to your Short.io account.
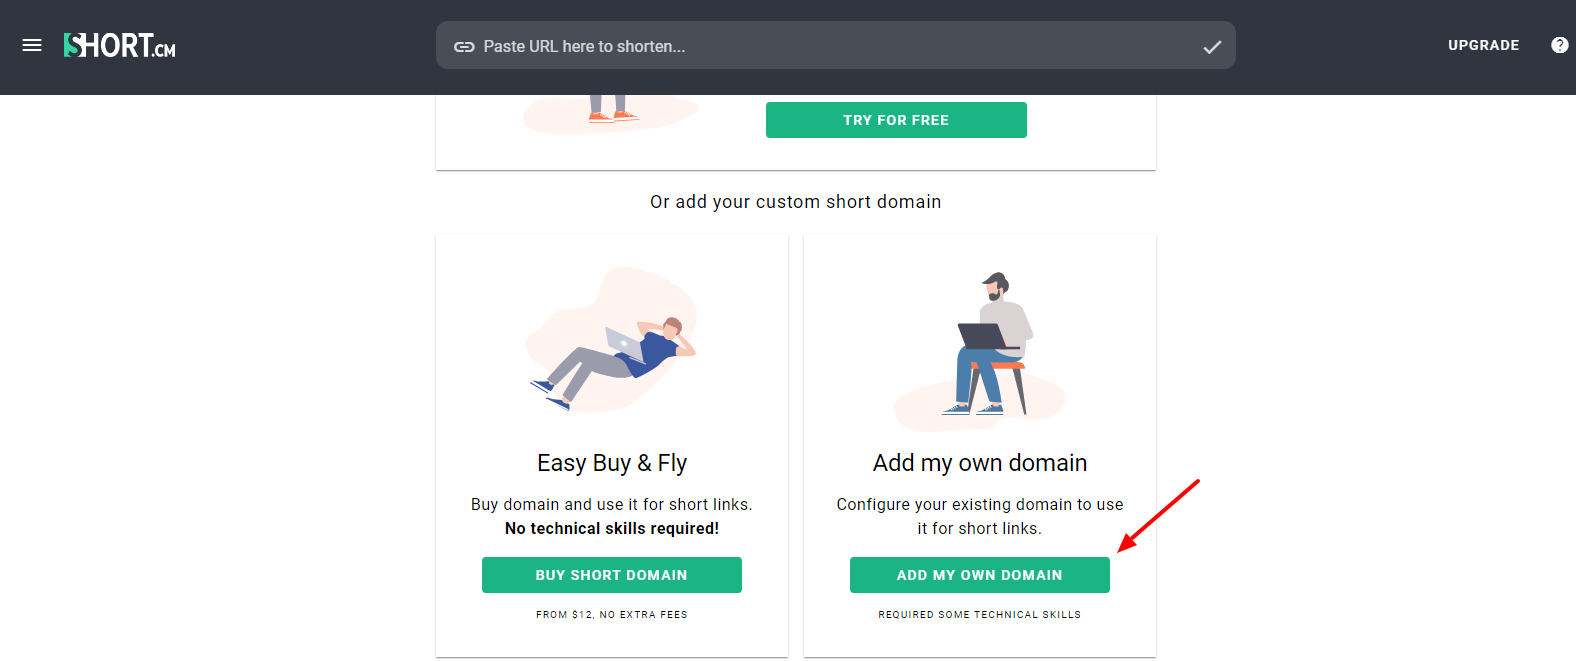
9. Open the User menu and choose "Add domain."
10. Choose the third option — Add my own domain
11. Specify a domain and confirm that this domain is dedicated only for shortening links.
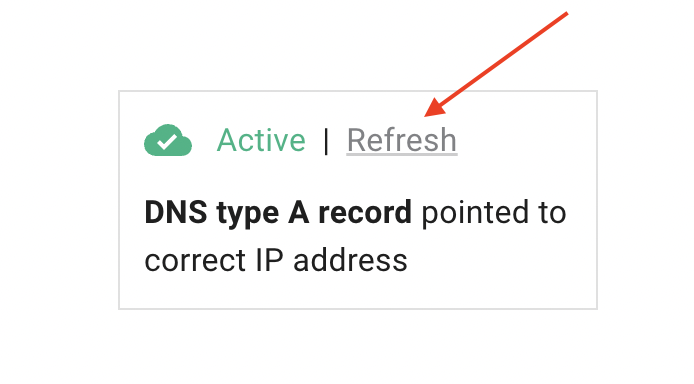
12. Go to your domain settings to check if the domain is active. Refresh a domain status in 1-2 hours if the domain is still inactive.
Note: Wait a few hours and refresh a domain status in Short.io domain settings.
Important: If the domain is inactive in 3-4 hours:
Click on the yellow clouds on DNS settings to enable DNS-only status.
13. After the domain is active, feel free to shorten links and enjoy Short.io.
Watch a step-by-step video instruction to avoid obstacles while configuring a domain.

